Friday, October 26, 2012

Squash and Bacon Pizza


So, in case I haven’t made it clear yet, I love pizza.  To be honest, in the past two weeks, I think I have had pizza four times.  One of them, that I had at Pizzeria Paradiso in Alexandria, Virginia, is what inspired this pizza.
It incorporates two of my favorite things: pizza and fall flavors.  And even though the temperature is supposed to hit 80 degrees this week (a big ol’ WTF to that!), the CSA’s and grocery stores are full of pumpkins and squash, and this is a different way to use them.
This pizza is also weight watchers friendly, unlike some of the pizzas I have posted about in the past (see gyro pizza and Indian inspired pizza).  One of my big things with pizza is that I will pretty much eat however much is put in front of my, so I had to come up with a recipe for dough that wouldn't break the bank, points-wise. In order to make it work, I make this crust very, very thin.  The dough is almost translucent when it is stretched out.  I prefer a thin crust pizza anyway, so this doesn't bother me at all, but if you prefer a thicker crust you can use the same amount of dough and just stretch it out less. Scott, my official pizza dough stretch, can make this dough cover our entire 14 inch cast-iron pizza pan.

Homemade Pizza Dough
Rising pizza dough
Serves 2, 7 Weight Watchers Points Plus

1 cup white flour
½ tablespoon olive oil
½ cup water
1 teaspoon salt

1 teaspoon bread machine yeast (I use this instead of a packet because I go through a decent  amount of yeast, and this will be fine in the fridge for a while)

In the bowl of a stand mixer fitted with a dough hook, or a food processor fitted with a dough blade, put the flour, salt and yeast.  Stir together.  Pour in the olive oil, and then slowly drizzle in the water with the machine on low.  The dough will start to come together, and when it pulls away from the sides and forms a ball you know it will be good.  If it is very sticky you may have to add more flour, but this could increase the points depending on how much you need. 

At this point, let the mixer or processor run for about 4-5 minutes to knead the dough.  Put the dough in a bowl coated with olive oil spray, turning the ball of dough to coat it, and cover with plastic wrap.  Let rise in a warm place for about an hour.

Pre-heat the oven to 450 degrees.  I like to par-bake my pizza dough because I find it get crunchier this way.  Stretch your dough to the desired size.  If you stretch this size dough to cover a 14 inch pizza pan, bake it for 7-8 minutes until the top has a nice crustiness.  If you make it smaller and thicker, you will have to bake it for longer.  Once your pizza crust is par-baked, you are ready to top it.  Then you bake for another 7-8 minutes until done. 

Beautiful roasted squash
Squash and Bacon Pizza
Serves 2, 14 points per serving

One serving of pizza dough
1 small acorn squash
1 small onion
¼ cup water
Salt and pepper to taste
2 slices of bacon
3 ounces of cheese, shredded
Olive oil spray

Once your pizza dough is rising, you can get your other ingredients together.  Preheat oven to 450 degrees.  Cut the squash in half, scoop out the seeds and put on a baking sheet. Peel and quarter the onion and put on the baking sheet.  Spray both with olive oil spray. Roast until the squash is soft about 45 minutes.
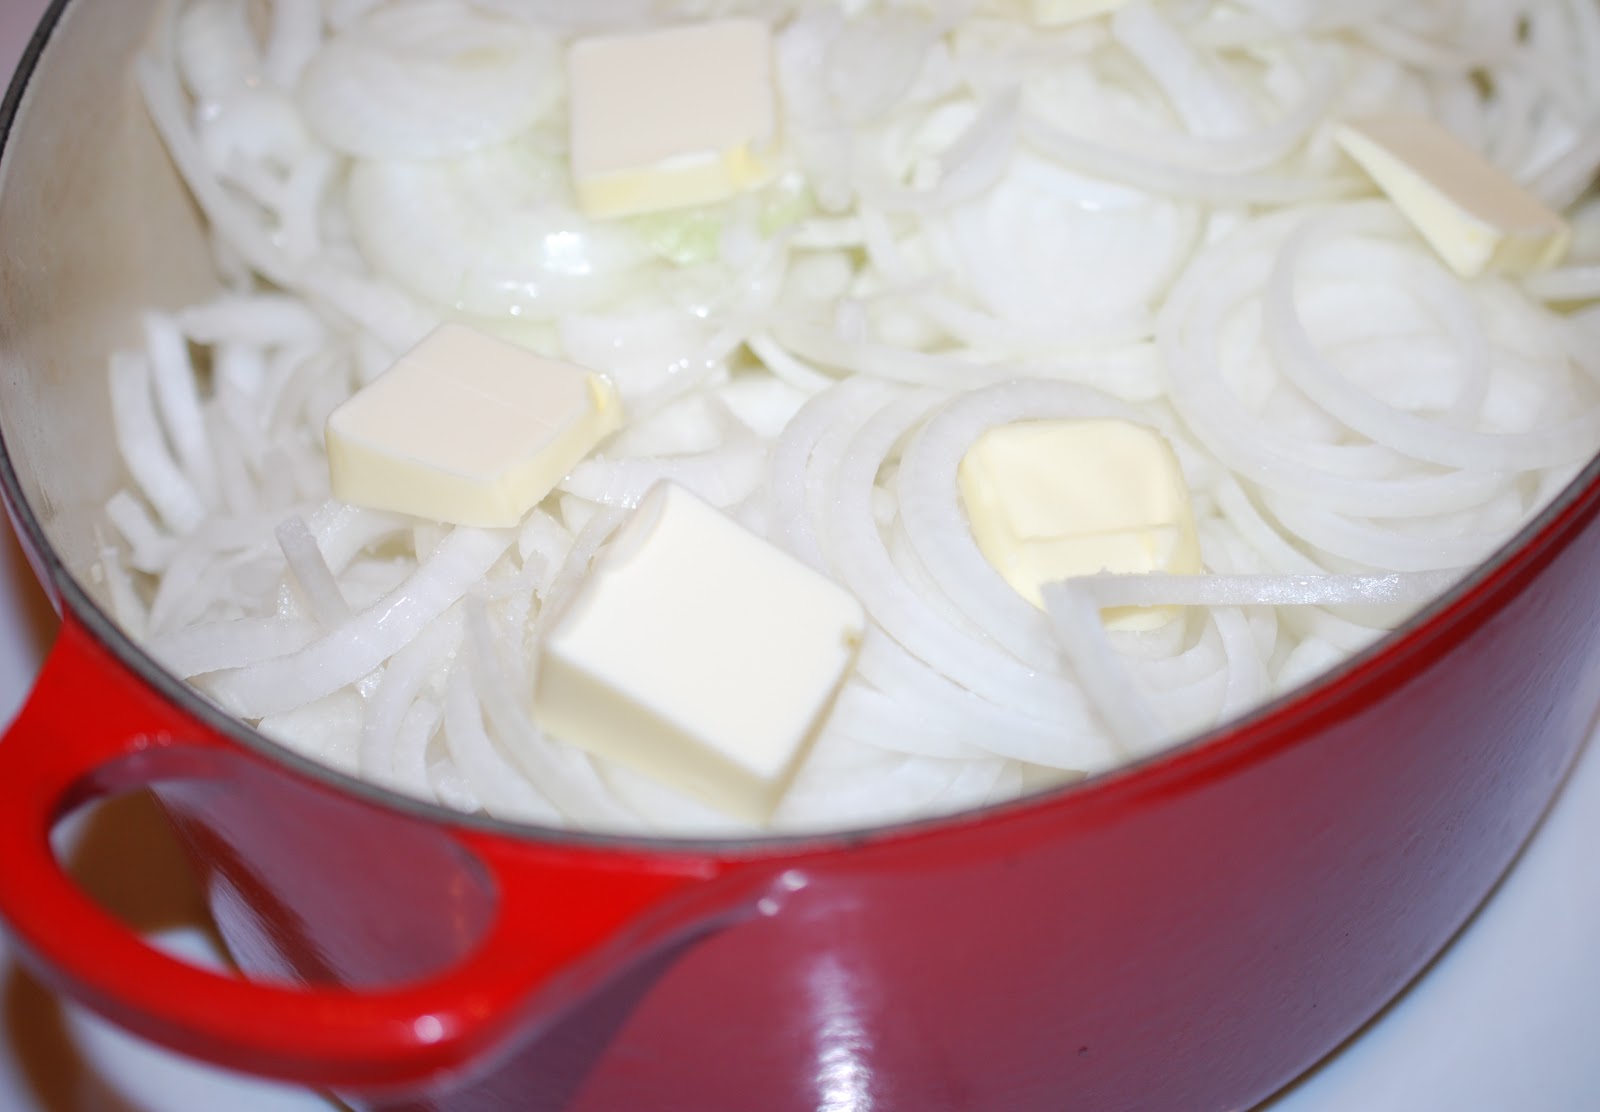
Onion with a hint of carmelization

Meanwhile, dice the bacon and sauté until crispy, then drain on paper towels.  Reserve for later.  Once the squash and onion are done, let rest until cool enough to handle, then scoop out the flesh into a measuring cup or food processer along with the onions, salt and pepper, and water.   You can also throw in some red pepper flakes for heat if that is your thing. Use a immersion blender or food processor to puree until smooth. 
Bacon getting crispy
Shred your cheese.  I think this works best with a nutty cheese, such as a gruyere or aged cheddar.  It brings out the flavor of squash.

Once your pizza dough is ready, par-bake as described in the first recipe.  Once half cooked, pull from the oven.  Spread the squash puree on the dough, then top with the cheese and bacon.  Cook for another 7-8 minutes until dough is crispy and cheese is melted.

The finished product!
Let cool for a few minutes, slice and enjoy!

I hope these pizza recipes have inspired you to branch out and try something completely different!

Wednesday, October 10, 2012

French Onion and Mushroom Soup

Food memories are extremely powerful things.  So many events in our lives revolve around food- wedding cake, your first meal in a fancy restaurant, comfort food from mom after a long day at school.  One of my favorite food memories revolves around French onion soup.

When I was growing up, my family was fortunate enough, thanks in part to a bygone era when companies had good perks, to belong to a country club.  The point was so my dad could take clients there, but I have no memories of that ever actually happening.  I do have many wonderful memories of going to dinner there once a month, getting all dressed up, and being treated like family by the wonderful wait staff who watched us grow up.

At these dinners, my mom would almost always get the French onion soup.  She loves it, with the melt-y cheese bubbling on top and the deep caramelized onion flavor.  My goal when she ordered onion soup was to pick all of the little bits of cheese off of the side of the bowl that would get crunchy and toasted.  My mom had to watch me like to a hawk to make sure that I didn't get all of it.

This isn't my only memory of French onion soup.  When I was young, I didn't actually like the onion part of the soup.  The broth, yes.  The cheese, yes.  I could take or leave the crouton floating at the top.  And my mom, with the patience of a saint, would strain out the onions for me when she would make it at home. Sometimes I wonder how she put up with me!

This will turn into....
Eventually, as my palate became more refined, I started to actually endure the caramelized onions, and now I love them. I could literally eat them out a bowl with a fork and be perfectly happy.  One things I don't love about caramelizing onions is standing at the stove for 45 minutes to an hour, stirring and stirring.  I love recipes that take all day and make my home smell delicious, so I did some research and found out a great and easy way to make the onions without standing there stirring.  Now, you can't leave the house while this recipe is working, but you can watch some TV or do other chores.

this!

Oven Caramelized Onions
12 points for the whole batch

3 pounds of onions (I used a mix of white and sweet), sliced thinly
4 tablespoons of butter
cooking spray

Heat your oven to 400 degrees.  Spray the inside of an oven proof dish with a lid with cooking spray (I like to use a dutch oven).  Put all the onions in the dish, then put the butter, cut into chunks, on top. Cover and bake for 2 to 3 hours, stirring every half an hour.  If there is a lot of liquid in the dish after the first hour, crack the lid.  Your onions are ready when they are a deep, golden brown.  Set them aside in a bowl, but do not clean our the dutch oven yet!

When I decided I wanted to make French onion soup on my day off, I also decided I wanted to lighten it up.    Beef stock or broth from the store isn't very good, and I didn't feel like making my own.  Plus, the way I decided to do it makes it vegetarian.  I went ahead and made my own mushroom stock.  It was very easy.

The ingredients for the mushroom stock all laid out
Mushroom Stock
14 points for the whole batch

4 tablespoons of olive oil
4 portabello mushroom caps, chopped into large chunks
8 ounces baby bella mushrooms
6 ounces dried mushrooms- any variety will work
1 onion, peeled and halved
1 carrot, chopped into several pieces
Parmesan rind (optional, available at Whole Foods)
Several sprigs of thyme and rosemary
                                                                                      16 cups of water

Clean the mushrooms of any dirt and prepare all the other ingredients. Heat the olive oil in a large stock pot.  Once sizzling, put in the portabello caps and the baby bellas.  Saute until brown, about 5-7 minutes.  Once brown, throw everything else in and cover with the water.  Bring to boil, then turn down to a simmer.  Simmer for 1 to 1.5 hours.  There should be a lovely earthy fragrance to the stock at this point.  Let the stock cool for about half an hour.
Once cool, pour the broth into another container through a fine mesh sieve.  You want it to be clear, so you may have to pour it through a cheesecloth or food-safe paper towels to get all the little bits out.  Set aside. 

And now we get to point where you combine everything into a beautiful soup!

French Onion and Mushroom Soup
Makes 6 servings (6 points) or 8 servings (4 points)
*points value is only for soup, not for bread or cheese

2 tablespoons olive oil
8 ounces of mushrooms, sliced - I used 4 ounces of shitake and 4 ounces of Whole Foods Gourmet Blend
2 ounces dried chanterelle mushrooms
Caramelized onions
Mushroom stock

All that brown stuff on the sides of the dutch oven?
FLAVOR! Make sure you scrape that into the soup!!
Put the dried chanterelle mushrooms in a heat safe bowl and pour boiling water on them to re-hydrate   Let stand until ready to use.
Heat the dutch oven over medium heat, and pour in the olive oil. Once the olive oil is hot, saute the fresh mushrooms until golden brown, 5-7 minutes. Stir in the caramelized onions.  Drain the chanterelles, and put in the pot.  Pour in the mushroom stock.
Turn the heat to low and let simmer for at least 1 hour, and as long as 3 depending on your time constraints.

You can serve this plain, or in the traditional way.  Fill an oven-safe French onion soup bowl with soup, and float a slice of baguette on top.  Cover with shredded cheese (I like Gruyere  but you can use many different kinds of cheeses including mozzarella for a milder flavor).  Broil for 1-2 minutes until the cheese is bubbly.  Use caution, as this will be HOT.  Make sure to pick the crusty cheese off the sides of the bowl!

I hope I have inspired you to recreate some of your favorite food memories.  Feel free to tell me about them in the comments section!


Wednesday, October 3, 2012

Double Recipe Review: Steamed Buns & Asian Chicken

If you have ever been to a Chinese restaurant for dim sum, you have probably had a steamed bun.   Light as air, fluffy but with a hint of chew.  I think steamed buns are magical.  They have great texture, but don’t overshadow what you put in them.  Sometimes I like to try to make really complicated things that I have no experience with, so off I went, with the magic of the internet, to figure out how to make them.  After looking at several blogs, I realized that making them was going to be no simple task, and I would need some specialized ingredients.


While doing this search, I stumbled upon a blog with the cheaters way of making steamed buns.  I could not believe my eyes.  Could it really be that easy?  When I told Scott, he was extremely skeptical.  I had seen a recipe on the Skinny Taste blog for an Asian chicken that sounded good, and that I felt I could adapt to make a filling for the steamed buns.

Beautiful, easy steamed buns!

So, what is the secret to the steamed buns, you ask? Biscuit dough.  Like, Pillsbury refrigerated biscuit dough.   I’ll give that a minute to sink in.


It works.  I swear it does!  You should do this right now. 


I found out about this on the website steamykitchen.com, and I just want to find that writer and hug her!  It really was as simple as she said.  You just separate the biscuits, flatten them out a little, fold them in half and steam on parchment paper for about 12 minutes.  I haven’t tried this yet with light biscuits, but if I do I will let you know.  Now, the points for this will vary depending on what biscuit dough you buy, so check the package.  Steamykitchen.com recommends the buttermilk kind, and I bought a different one that worked fine.

For a filling for the steamed buns, I adapted the Skinny Taste Asian Glazed Drumstick recipe.  She used breasts that are cut up, but I used whole skinless thighs that I then shredded.  The sauce is main part of this recipe that is important because you can use it on any cut of chicken that you like.  I found that I had to pull the chicken out of the sauce and boil it with about a half a tablespoon of arrow root to turn it into the thick glaze that I was looking for.   Otherwise, the taste was spot on and I highly recommend this recipe. 


Here is the original recipe:


Asian Glazed Drumsticks
Gina's Weight Watcher Recipes 
Servings: 4 • Serving Size: 2 drumsticks • Old Points: 5 pts • Points+: 5 pts
Calories: 213 • Fat: 4.7 g • Protein: 27.5 g • Carb: 12.7 g • Fiber: 0.4 g  

Asian Glazed Drumsticks (or thighs in this case)
with quickly pickled zucchini on the side
  • 8 medium chicken drumsticks, skin removed
  • olive oil spray (I used my Misto)
  • 1 cup water
  • 1 tbsp Sriracha hot sauce (more or less to taste)
  • 1/2 cup balsamic vinegar
  • 1/2 cup soy sauce
  • 4 tsp agave nectar (or sugar)
  • 3 cloves garlic, crushed
  • 1 tsp ginger, grated
  • 2 tbsp chives or scallions, chopped
  • 1 tsp sesame seeds

In a heavy large saucepan, brown chicken on high for 3-4 minutes with a little spray oil. Add water, balsamic, soy sauce, agave, garlic, ginger, hot sauce and cook on high until liquid comes to a boil. Reduce heat to low and simmer, covered for about 20 minutes. Remove cover and bring heat to high, allowing sauce to reduce down, about 8-10 minutes, until it becomes a thick glaze, turning chicken occasionally. (Keep an eye on glaze, you don't want it to burn when it start becoming thick) Transfer chicken to a platter and pour glaze on top. Top with chives and sesame seeds and serve.

Update: I Still Exist

Paddle Boarding
So I know I haven't written for forever.  I don't really have an excuse.  I just let life get in the way, as usual.  I've been cooking some great things (found a trick for easy steamed buns) and some not so great things (cabbage with mustard.... blech) but I just haven't sat down to write about them.  For now, here are some random updates:

- My big brother got married!  The wedding was beautiful, and was perfectly "them".  I could not be happier for them and wish M & V a lifetime of happiness!

- We spent the week after the wedding on Cape Cod, where we tried a new activity: Paddle boarding.  It was really fun and a great workout, plus you get to see some cool places.  We even got pretty close to a seal at one point.

New Hair Color!
- I decided to change up my hair for fall.  I've been obsessing over ombre` stuff, and like have red hair, so I went with a red ombre` look.  I love it.  The only downside is that red is the hardest color to keep and it has kind of faded to a coppery color, but the coppery color still looks nice.

- Even though I haven't been running as much as I like, this past Sunday I ran in my first 5k (that did not have obstacles).  My husband and I ran together, and we finished in 36 minutes, which is better than I expected!

Waffles!!
- We bought a waffle iron, and I figured out a great  points-friendly waffle recipe!  Also, waffles are amazing and making them at home is great!

- Fall is my favorite season, and is full of great events.  This weekend I am going to an Oktoberfest thing at a bar in D.C..  Next weekend is my 5 year wedding anniversary.  Scott, my husband, is working hard on present and I have no idea what it is and it is driving me crazy!  We are going to the spa in the morning, then a wedding in the evening.  We are taking a trip in November since we can't go away the actual weekend of our anniversary.

- I promise to get my butt in gear and write some recipes!

Wednesday, August 15, 2012

Recipe: Gyro Pizza

So, just in case I forgot to mention it, pizza is basically my favorite food.  Pasta would be 2.  Pizza is definitely number 1.  Pizza is a food of infinite possibilities.  Take a crust, then go crazy!  Sauce is usually good, but not always necessary.  Add some cheese.  Or don't.  Throw on some meat.  Or veggies.  Or fruit even!  There are so many interesting ways to make pizza.  Tomato sauce and cheese is great if you want traditional, but I like to throw out all the rules and come up with some crazy combinations. 

My husband Scott loves to smoke things on his Big Green Egg.  He decided to smoke some gyro meat, but you could easily pick some up at a take out place, or even just use sauteed ground lamb.  Or sub out chicken even.  But the lamb adds such a great flavor that is hard to get in other kinds of meat.

This recipe is not particularly weight watchers friendly, and I did not calculate the points.  This is one of those splurge and enjoy meals. 

Here is the recipe:


Scott's smoked gyro meat
and sauteed shallot
Gyro Pizza
Servings depend on how you cut your pizza and how hungry you are.

Pizza dough (you can use store bought, but my favorite homemade pizza dough recipe is the cornmeal pizza crust from Martha Stewart)

For the toppings:
1 Shallot, thinly sliced
1 cup gyro meat, diced or ground lamb, sauteed
1 cup feta cheese, crumbled or diced

For the sauce:
1/4 cup olive oil
1/8 cup balsamic vinegar
Small eggplant, peeled and diced
Red pepper flakes

Pre-heat your oven to 425 degrees. While you are rolling out the pizza, roast the eggplant in the pre-heated oven until cooked through and very soft.  Remove and let cool.

Roll out the pizza dough so that it fits on your pizza pan (I use a Lodge cast iron pizza pan that I LOVE).  Par-bake for 10 minutes, or until your dough is about half way to done.


The sauce isn't much to look at, but
tastes amazing.  It would even make a
good dip!


In the meantime, saute the slice shallot in a drizzle of olive oil, then toss with the gyro meat.

For the sauce, use either a food processor, regular blender or immersion blender to puree the olive oil, balsamic vinegar and roasted eggplant until smooth.  Seasone with salt and red pepper flakes and puree for a few more seconds.

Ready to go in the oven


Once the pizza dough is half-cooked, pull it out of the oven and spread the sauce, then top with the crumbled feta and gyro meat/shallot mixture. Bake for another 10 minutes or until the dough is completely cooked through.


Hot out of the oven!

I served this with some tzatziki sauce to dip the crust into, and it was divine!


Friday, July 20, 2012

Corn Pesto Pasta

Last night I ended up making a really amazing dish that I just threw together with ingredients I had on hand.  In my CSA share this week I got 3 ears of corn and a giant zucchini.  I really wanted to use the corn quickly because I was worried it wouldn't last, but I didn't have any proteins I could serve it with on the cob.

I thought about making a pesto with the zucchini, but the pictures I saw online didn't appeal to me.  Then I realized I could probably do the same thing with the corn!  It turned out really well, and was very easy.  This recipe is a little higher in points than most that I post, but you could serve a smaller serving of pasta and bulk it up with more vegetables and it would still be excellent.

This is really not a very attractive
dish, but it was so good!
Corn Pesto Pasta
Serves 2 - 14 WW Points Plus Per Serving

4 ounces pasta, cooked al dente and drained
3 ears of corn, kernels removed from the cob
1 small zucchini or 1/2 a large zucchini, thinly sliced
2 garlic cloves, diced
1/8 cup olive oil
10 hazelnuts
lime
salt
Parmesan (optional, and not calculated into the points)

While your pasta (use a short pasta with nooks and crannies to catch the sauce) is cooking, heat about 1/2 a tablespoon from your olive oil in a nonstick pan.  Saute 2/3 of the corn you removed from the cob and the garlic for 3-4 minutes, or until just fragrant.  Put in a small food processor or cup that you can use a hand held blender in.

Pour in almost all of the rest of the olive oil, but reserve 1/2 a tablespoon. Put in the hazelnuts and squeeze the lime juice in with the corn/garlic mixture, season with salt and puree until almost smooth.

In the same pan you cooked the corn in, put the remaining 1/2 tablespoon olive oil, and once hot saute the zucchini for about 5 minutes.  Put in the remaining corn to cook.

When your pasta is finished cooking, drain and stir into the pan with the zucchini and corn.

To serve, split the pasta/zucchini/corn mixture into two bowls, then top with 1/2 the corn pesto on each serving.  Sprinkle with a little Parmesan if you wan.


Tuesday, July 3, 2012

Fear


Expose yourself to your deepest fear; after that, fear has no power, and the fear of freedom shrinks and vanishes. You are free.
Jim Morrison

Have you ever heard the saying “Do something that scares you every day?” Honestly, I think it is one of the stupidest sayings I have ever heard, and really makes no sense.  I mean, how is it even possible to do something every single day that scares you, unless you are afraid of almost everything?  Well, despite the way I feel about that saying, I do think it is important to try things that scare you every once in a while.  New experiences are great, and not trying something just because it is scary doesn’t seem like a very fun way to live your life.  Plus, exposure therapy is a great way to get over those things that do scare you. I never want to miss out on experiencing something cool just because it is scary!
My husband letting the Lorikeets drink.
                There are a few things I am afraid of, and have decided to partake in activities that will help me deal with those fears this summer.  In the past I have done things to help with my fear of birds (I love to look at them, but they seem to like to randomly attack me for no reason!) Hanging out in the bird house at the Portland Zoo really helped me deal with them, although I still wouldn’t want one as a pet.  I also visit butterfly houses every chance I get, because they kind of freak me out a little as well. 
 I don’t have the best body image, and have never had the confidence to wear a bikini, no matter what my weight.  I was out this weekend, and saw the cutest bikini in the window of a store, and decided I need to get over my fear and buy it.  I tried it on, and the bottoms have great coverage to hide some of my least-favorite body parts, and the top seemed pretty flattering so I decided to go for it.  Hopefully I will feel the same once I am actually walking onto the beach in it! In reality, I don’t sit at the beach looking at other people and judging what they are wearing, so I hope most people would not be judging me.
Me swinging on the trapeze!
One of my other fears is ladders.  I don’t even like going in my attic because climbing the ladder freaks me out.  I have already done some work on my fear of ladders by taking 2 trapeze classes, where you have to climb up a pretty tall ladder to get to the platform that you then have to swing off of. Even though you had to climb the ladder several times in each class, it still scared me by the end of the class almost as much as it did in the beginning, so clearly I need to work more on this fear.
  In a few weeks, my friends and I are doing a ropes course in the woods at Terrapin Adventures.  The highest point is 40 feed off of the ground.  I’m not sure if it is a ladder or stairs to get up there, but I am sure it will make me nervous.  But I know that I can do it, and that it will be worth it, and maybe the next time I need to climb a ladder I will be a little less freaked out! (And at the end we will be grabbing beers, so I can always just focus on that!)
What are you afraid of?  What can you do to work on that fear?

Tuesday, June 26, 2012

Recipe: Ham Crusted Quiche

Ham Crusted Quiche
Sorry it has been so long since I’ve posted a recipe!  I’m sure you all know how it is, life just gets the in the way and all the sudden you wake up and realize you have been neglecting your blog!  And while I was neglecting my blog, my healthy journey has been doing some ups and downs.  I find myself on a great path, and then stumbling.  I’m trying to focus on the positive, and when I stumble get right back on the horse instead of letting it derail me, but I am by no means perfect and that doesn’t always work!
One of things I have been working on it is trying to not rely on carbohydrates so much in my meals.  I was feeling like every day, every meal was carb-heavy.  I don’t think that it is necessarily a problem to eat a diet high in carbs, but I felt like it was slowing me down, and I like to mix it up a little and give myself new challenges.  I also am doing a half-share of a CSA (Community Supported Agriculture where I get a “basket” of fruits and vegetables) and want to make sure that everything I get is being eaten.  I have tried several of the “low carb” recipes that are popular right now, like the cauliflower pizza crust.  The verdict on that one is that it is good in its own right, but it is not the same as pizza crust.  The cheese mixed with the cauliflower does give it a nice crunchy texture, and I prefer a thin crust to the cauliflower crust, but I would make it again.
I did, however, make a low-carb recipe that I am enjoying a lot.  We get a dozen eggs every 2 weeks with our CSA, and what is a better use than a quiche?  It is totally customizable, and you can make a different variation all summer long.  I wanted to make it to bring to lunch at work, but the pie crust full of butter and flour is not on my current to-eat list.  I went searching on the internet for ideas on other types of crusts, but they all seemed to be based on other carb-heavy things like potatoes.  However, one link to a flickr account caught my eye: a ham crust
This seemed like the perfect idea, but I wasn’t in love with the rest of their recipe for the quiche, so I kind of mashed up a bunch of recipes I had in my head and came up with the recipe below.  It turned out really well, and this will definitely be added to my list of go-to recipes!

Ham Crusted Quiche
6 servings
4 Points Plus per serving

6 ounces deli ham
4 eggs
1 cup milk
4 ounces light Jarlsburg/swiss cheese, shredded
1 teaspoon olive oil
1 pint mushrooms, roughly chopped
2 garlic scapes or green onions, sliced

Preheat oven to 375 degrees.  Spray pie pan with olive oil spray, then lay the ham out so it covers the entire pan.

Mushrooms and Garlic Scapes


In a non-stick skillet, heat up the olive oil.  Once hot, sauté the mushrooms and garlic scapes or green onions until the mushrooms release their liquid and it cooks off.  Set aside to cool.


Eggs and Milk ready for
whisking


In a bowl, break up the four egg yolks, then add the milk and whisk and until combined well.  Season with salt and pepper, then stir in the cheese.  Finally, stir in the mushroom mixture.  Gently pour in to the pie pan on top of the ham.   Bake for approximately 45 minutes or until the eggs are set. 

Ready to go in the oven
 Some of the eggs might end up on the outside of the ham because it will shrink a little in the oven, but this doesn’t mess up the taste or texture.  Let cool for a few minutes, then slice and enjoy!  (As a note, there may be some liquid released from the ham, but this did not mess up the quiche at all.  Just don’t let your husband drain it in the sink and drop the remaining servings into soapy water!)

Friday, June 8, 2012

My go-to pot luck recipe: Bacon Beet Horseradish Dip

Like most people, I am invited to several pot luck events throughout the year.  I always want to bring something tasty and unique.  I already know there will be at least 2 different kinds of broccoli salad, so why not go with something I am sure no one else will bring.  Of course, now that I am letting everyone in on my little secret, I might show up to a pot luck and find this dip already there!
The world needs more pink food!

The great thing about this dip is that it is both delicious and and conversation started.  I personally believe that the world needs more pink food, and if that can be done without artificial colors, that makes it even better.  It is very easy to make this, takes about 20 minutes, and even through people will be apprehensive at first, everyone who tries it enjoys it. This past weekend I brought it to Scott's company picnic, and it was well received.  Plus, bacon makes everything better!

Also, this not a particularly healthy recipe.

Bacon Beet Horseradish Dip

1/2 pound of bacon
2 8 ounce boxes of cream cheese
1 cup sour cream (you can sub light sour cream or mayo)
8 ounce jar of Gold's horseradish with beets

Dice the bacon, and cook until crisp.  Drain off all the fat.

In a bowl, mix the cream cheese, sour cream, bacon and horseradish together.  Your dip will be bright pink, and will be awesome!

This goes well with cut up vegetables, pita, tortilla chips, or bread.  My favorite thing to serve it with is the Russian brown bread that I get at Whole Foods.  To be extra fancy, serve it in a bread bowl.

Friday, June 1, 2012

Recipe: Crispy Honey Garlic Chicken

This past weekend, I attended one of my favorite things: a beer festival.  Me, my husband and my brother-in-law had  a great time, trying lots of good beer, eating BBQ and being responsible by not driving. As you can image, beer festivals are not exactly great for staying on point with Weight Watchers, but sometimes you have to just enjoy life and not count points, and this is definitely one of those events.  Despite all the gluttony, something I found at this particular beer festival inspired the recipe I am going to share today.

They often have vendors selling products at these types of events, and anyone who knows me knows that I could never resist a free sample (my dad likes to talk about when I at at least 10 British pounds, the currency not the weight, of cheese samples at Fortnum & Mason in London).  One of the vendors there was TorchBearer Sauces.  They had several different types of sauces to try, including BBQ sauces and hot sauces, but when I tried the Honey Garlic Wing Sauce, I knew I had to have some.  Tangy from the garlic, with a hint of sweetness from the honey, I figured there was a lot I could do with this.   The great taste combined with the lack of high fructose corn syrup seemed like a great combo, and it was made even better when I determined that it was only 1 weight watchers point per tablespoon! 

Crispy Chicken... yum!
I'm not a huge chicken fan, but when I do make it I prefer it to be crunch, but breading usually involves coating the chicken is something pointy.  What I did instead was marinate the chicken in the honey garlic wing sauce, then use the marinade to get the coating to adhere to the chicken.  It worked out great!


Recipe: Crispy Honey Garlic Chicken
Serves 2
9 weight watchers points per serving
So maybe french fries are not the healthiest side
dish.  Serve with a green vegetable!

3/4 chicken breaks, pounded so they are slightly thinner, or cut scallopine style
4 tablespoons TorchBearer Honey Garlic Wing Sauce
1/2 cup panko bread crumbs

Marinate the chicken with sauce for at least one hour, but around 3 or 4 would be best. 

Preheat the oven to 450.  Lay an oven-safe cooling rack on a baking sheet (this allows the air to circulate around the chicken).

Spread the panko on a plate.  Remove chicken from marinade, and coat each side lightly in panko, then lay out on the cooking rack.  Bake for 8-10 minutes, then flip and bake for 8-10 more (cooking time depends on thickness of your chicken.)

Serve with even more sauce to dip in!


p.s. In case anyone is wondering, I don't have enough people who read my blog for anyone to pay me to write about their products.  This is purely done because I enjoy the product.